
Moving to a foreign country is always exciting. A fresh start, new people, new opportunities. But the moment you land… reality hits. From SIM cards to Anmeldung, from opening a bank account to sorting your health insurance there will always be a ton of things to figure out just to get settled. And in a place like Germany, where the system, culture, and even the language are different, it can get pretty overwhelming if you don’t know what you’re doing. You will end up making mistakes that cost you weeks or months of stress… and sometimes a lot of money too.
I’m going to walk you through your entire first week in Germany. From the moment you step off that plane to the day you feel fully settled. By the end of this, you’ll know exactly what to do, when to do it, and how to avoid the common mistakes most newcomers make.
Airport Arrival
Let’s start right at your first entry point in Germany the airport.
If you’re flying in from outside the Schengen area, your first stop will be passport control. Now, I know this can feel a little intimidating, especially if it’s your first time. But honestly? There’s nothing to worry about here.
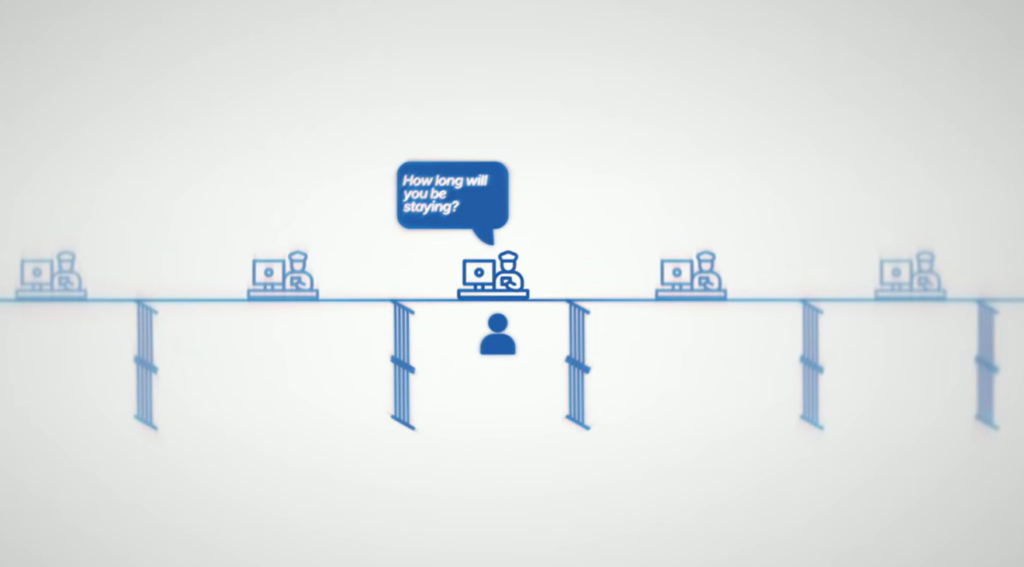
The officer will take a quick look at your passport and visa, and might ask a few simple questions like, “What’s the purpose of your visit?” or “How long will you be staying?” Just stay calm, polite, and answer honestly. Most officers speak English, but here’s a small tip a friendly “Guten Tag” or “Danke” goes a long way. It shows respect and makes the interaction smoother.
And keep your supporting documents ready things like your work contract or university admission letter, just in case you need to show them.
Once you’re done at passport control, follow the signs to Baggage Claim or Gepäckausgabe in German. Most airports have luggage carts which you can grab for free, though in some places you might need to insert a one- or two-euro coin. After you collect your bags, look for the “Ausgang” or “Exit” signs that’ll lead you to the arrivals area.
But before you can actually walk out, there’s one more step you’ll need to go through.
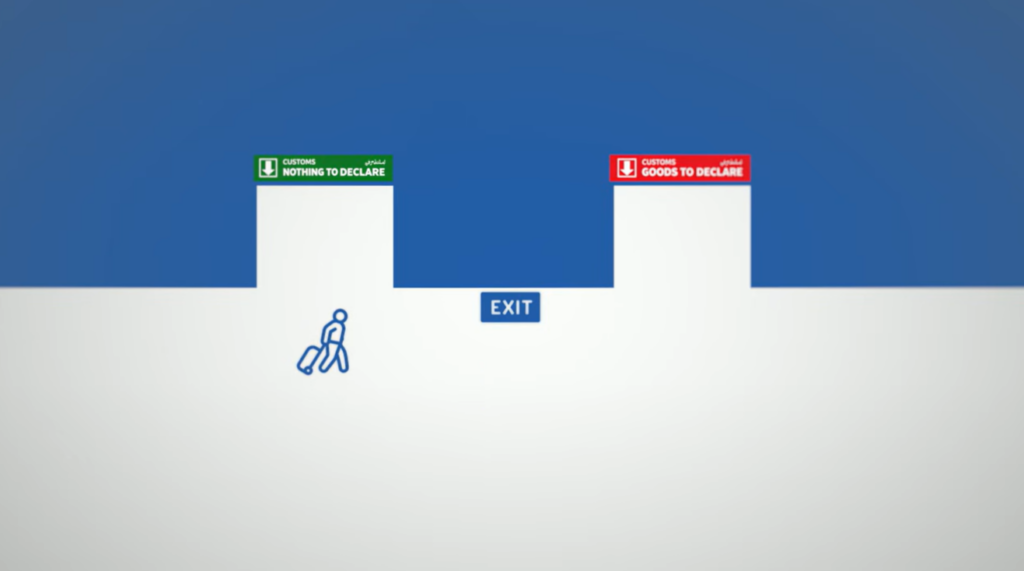
Now, this is where a lot of people make their very first mistake. As you walk toward the exit, you’ll see two lanes: a green one that says “Nothing to declare,” and a red one for “Goods to declare.” Most people just walk straight through the green lane without thinking twice. But here’s the thing Germany has strict rules on what you can and cannot bring into the country, and there are certain limits you need to be aware of.
When it comes to food, packaged and sealed items are usually fine. But avoid plants, seeds, or any kind of meat products those can get you into trouble. And if you’re carrying more than €10,000 in cash or valuables, you must declare it. No exceptions.
Customs officers also do random checks. And if they stop you and find something that should’ve been declared, trust me, that’s a headache you do not want on your first day in Germany. So just take a second, check what you’re carrying, and choose the right lane.
Once you’re through Customs, you’ll reach the Arrivals Hall. Welcome, you’re officially in Germany now!
Arrival halls have ATM counters. So you can take out some cash if you really need to, but know that they usually charge higher fees especially if you’re using a foreign card. So only withdraw what’s necessary.
Now, once that’s done, the real challenge begins getting from the airport to your new home. And for that, you need to understand how public transport works in Germany. Because it’s very easy to mess up if you don’t know what you’re doing.
Getting to Your New Home
Now the exact mode of transport from the airport to your new home depends on where you land and where you’re heading. Most airports are directly connected to the city by public transport. You can either take an S-Bahn, U-Bahn, or Bus.
The S-Bahn is basically a suburban train it connects the airport and the outer areas to the city centre. The U-Bahn is the underground metro you’ll use to travel inside the city. And buses… well, you already know how buses work. If you landed in a completely different city, you’ll probably use the ICE or Germany’s high-speed trains. These are run by Deutsche Bahn, or in short DB, which is the official railway company of Germany.
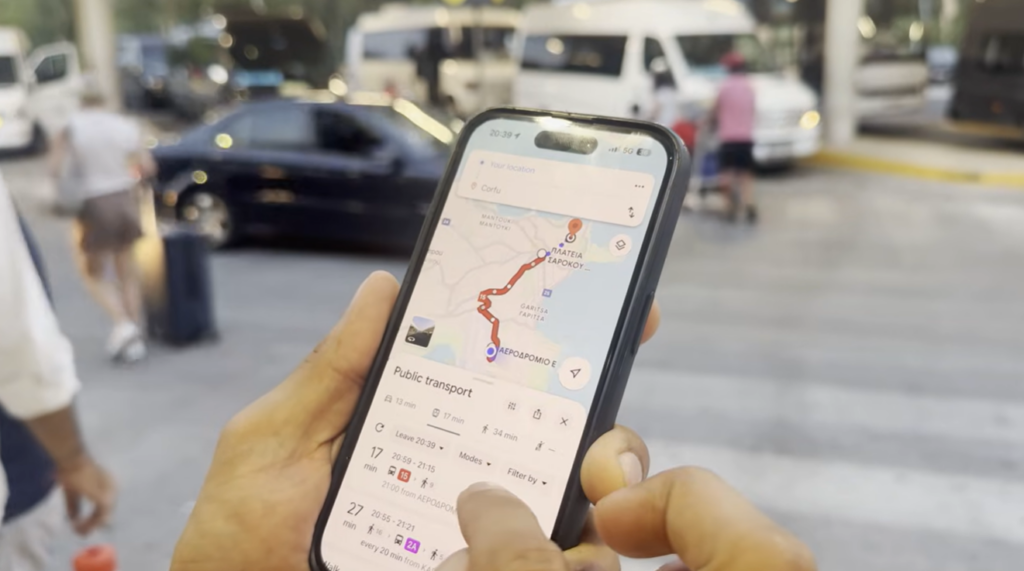
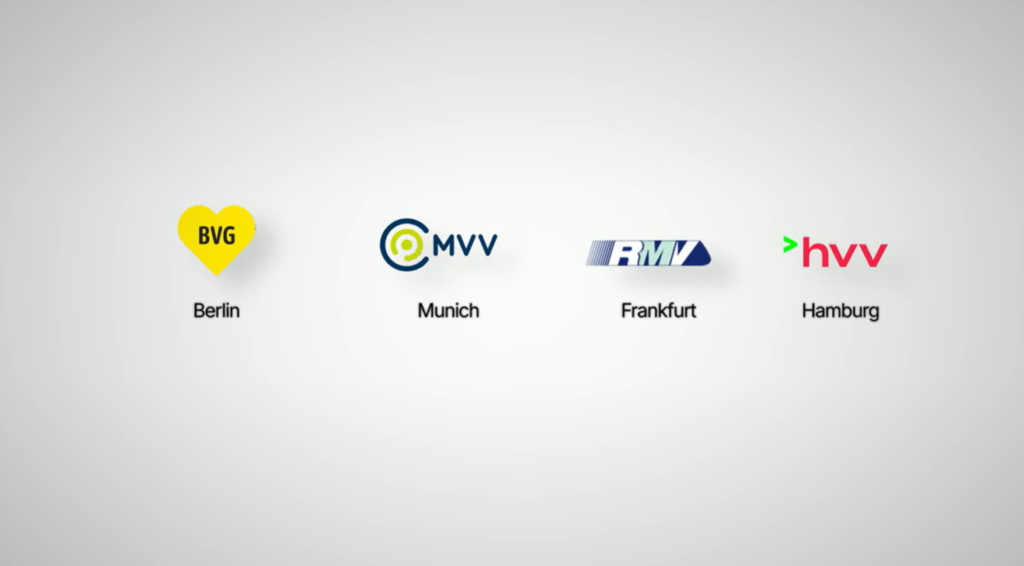
Each city also has its own local transport network like BVG in Berlin, MVV in Munich, RMV in Frankfurt, or HVV in Hamburg. The easiest way to check routes and buy tickets is online, either through the DB app or the local transport apps.
You can also buy tickets right at the airport from the ticket machines. A single ticket or Einzelfahrkarte is the best option if you want to travel from point A to point B. You can also switch between buses, trams, and trains within a certain period of time. In the ticket machine or the app, just enter your destination, make the payment, and you’re set to go.
But if you buy a paper ticket without a time printed on it, you have to validate it before you get on the train. You can find stamping machines near the platform entrance. Just slide your ticket in, get it stamped, and then you’re good to go.
Now here’s something that surprises almost everyone in Germany, there are no ticket barriers or scanners before you enter the platform. You just walk in. But that doesn’t mean you can ride for free. Ticket checks happen randomly inside the train, and if you’re caught without a valid ticket, you will have to pay a fine.
Now, if you’d prefer to have a direct ride home, some airports also run their own shuttle buses. For example, in Munich, there’s the Lufthansa Express Bus that runs every 20 minutes and takes you straight to the city center. Super convenient if you’ve got luggage and just want a simple ride without any transfers.
Sometimes after a long flight, all you want is to get home and crash. And in that case, you can always take a taxi. Taxis in Germany are usually beige or cream-colored with a big “TAXI” sign on top. You’ll find a taxi queue right outside the terminal. Just walk up to the first one in line and get in.
And don’t worry, you don’t need to negotiate the price like in some other countries. Every taxi runs on a regulated meter, and the driver will start it as soon as the ride begins. It’s straightforward, transparent, but also expensive.
Once you finally get to where you’re staying whether it’s a temporary apartment, a friend’s place, or a hotel- get some rest. Because we’ve got a lot on our plate the next day.
DAY 2: SIM CARD & CONNECTIVITY
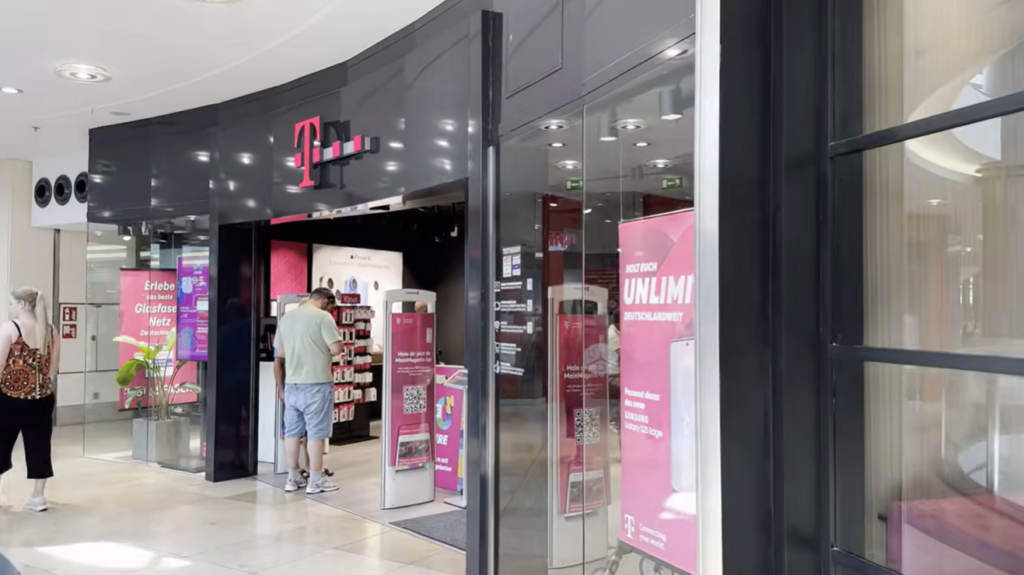
Alright, day two. Let’s get you connected. When it comes to mobile networks in Germany, there are three big ones Telekom, Vodafone, and O2. Telekom usually has the best coverage, but it’s also the most expensive. Vodafone comes pretty close, and O2 is usually the most budget-friendly option.
There are also smaller providers like Aldi Talk or Lycamobile they use one of these three networks but often offer cheaper plans.
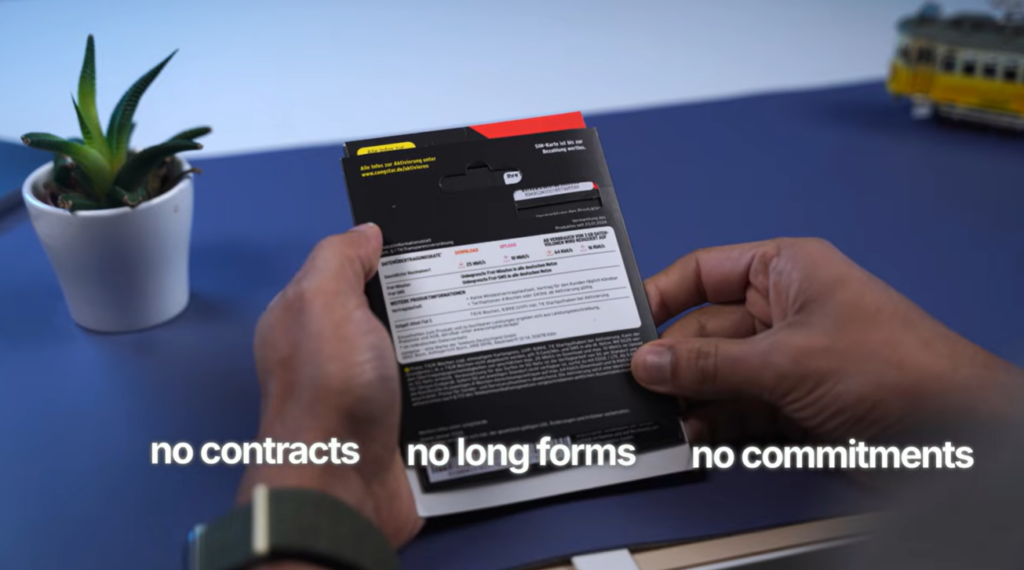
The simplest way to get started is with a prepaid SIM. No contracts, no long forms, no commitments you just pay upfront and top up whenever you need more data or minutes.
For example, Aldi Talk gives you around €10 for 5–7 GB of data plus unlimited calls and texts within Germany for four weeks. Once you’ve settled in, you can always switch to a contract later. And don’t worry about losing your number. When you change your contract, you can keep your same number through something called Rufnummernmitnahme, or number porting.
So just walk into the nearest supermarket like Aldi or Lidl, or an electronics store like MediaMarkt or Saturn, and grab a starter SIM pack. But you won’t be able to use it right away. You first need to register it with your ID and then activate it. You can usually do this online or by visiting the nearest post office with your passport. And the starter pack will have clear instructions on how to complete the process.
Or, if you prefer something easier, just go to a mobile operator store like Vodafone, Telekom, or O2 with your passport. The staff there will help you choose the right SIM card and activate it for you on the spot.
Day 3: Supermarkets:

Today is the day you finally step into a German supermarket. Because sooner or later, you’re going to need food, cleaning supplies, or just the basics to get through the week. And, the way everything works here is pretty similar to most other countries, so I’m not going to go into the details.
In Germany, there are different types of supermarkets, and knowing where to shop will make your life a lot easier. Let’s start with the discount supermarkets places like Aldi, Lidl, Penny, and Netto. Here, the prices are low, but the selection is smaller.
Then you’ve got the mid-range stores Rewe and Kaufland. These are a little more expensive than Aldi or Lidl, but you’ll find more variety and usually better fresh produce. And then there are the pricier ones like Edeka, Tegut, or Alnatura where you’re basically paying extra for that premium feel and higher-quality products.
If you’re in a bigger city, you’ll also find plenty of international grocery stores Turkish markets, Asian shops, African stores, Eastern European stores where you can pick up the items you won’t usually find in the regular supermarkets. So just head to the store near you, pick up whatever you need for the week, and head back home.
Day 4: ANMELDUNG
Today, you’re about to do one of the most important things after moving to Germany. Anmeldung. By law, everyone living in Germany has to register their home address within 14 days of moving in. It doesn’t matter if you’re a student, an employee, or here on any other visa this is mandatory. Without this step, you can’t open a bank account, you can’t get health insurance, you can’t even sign a proper rental contract.
And to do the Anmeldung, you’ll need three things:
- Your passport
- The filled Anmeldeformular (that’s the registration form)
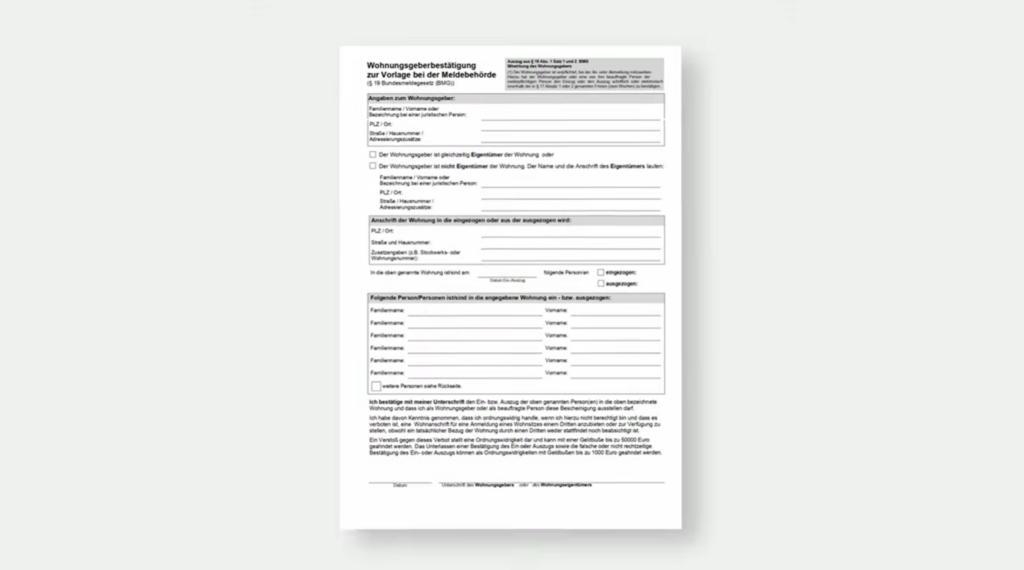
- And the most important one the Wohnungsgeberbestätigung. That’s a confirmation letter from your landlord saying you’ve officially moved in.
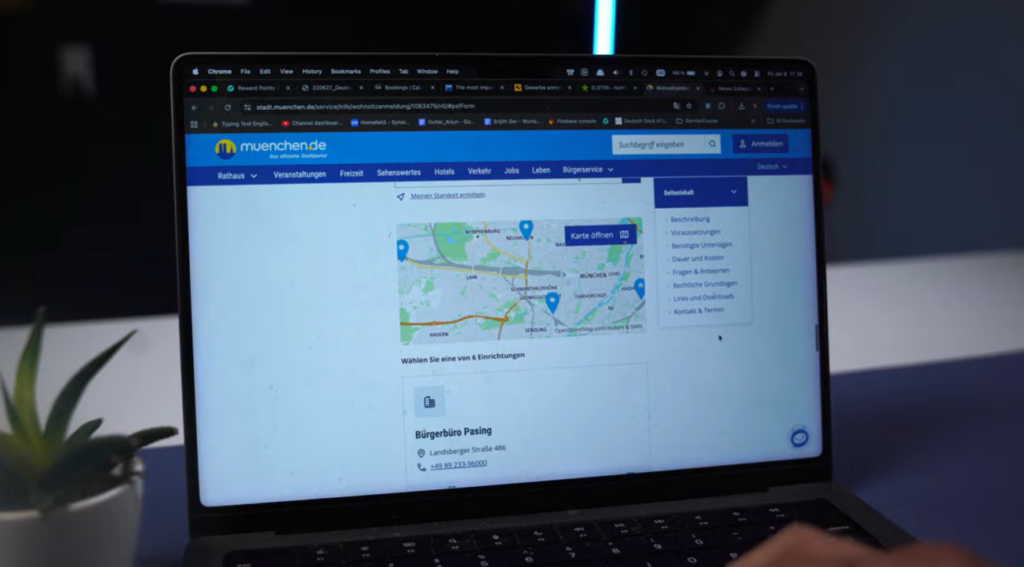
Once you have the documents, just walk into your local Rathaus or Bürgeramt, which is the town office. Ask for the Anmeldeformular if you don’t have it already. Fill it out with details like your name, date of birth, your address, marital status, and religion. Hand it over, and you will get the Meldebescheinigung your registration certificate. In big cities, like Munich or Berlin, you may need to book an appointment in advance.
Now, here’s where it gets tricky for newcomers. You need a proper address to do your Anmeldung, somewhere the Government can reach you by post. This could be your own rented apartment, a friend’s place, or even a long-stay hotel if they’re willing to give you a Wohnungsgeberbestätigung.
But most regular hotels and Airbnbs don’t provide this. So, your best option would be to stay in a short-term or temporary apartment for a few months, do your Anmeldung, get all your essential documents sorted, and then search for something permanent at your own pace.
Day 5: BANK ACCOUNT
At some point, you’re going to run out of the cash you brought with you or withdrew at the airport. And you’ll need a proper way to start paying for things. So on day 4, we are going to open a bank account or as they call it here, a Konto.
In Germany, you’ve got two main options: traditional banks or modern online banks.
If you prefer the old-school way talking to real people, visiting a branch you can go with one of the traditional banks like Sparkasse, Deutsche Bank, Commerzbank, or Postbank. They all have branches across Germany and their own ATM networks. Some of these accounts are free if you deposit a minimum amount every month; otherwise, you’ll have to pay around €6–€10 monthly.
But if you’re okay with doing everything online, banks like N26, DKB, or Revolut make life so much easier. You can open an account in just a few minutes with your passport and your address. They’re fast, easy to use, and usually have no monthly fees.
To open an account, you’ll need your passport or ID, and proof of your address, that’s your Meldebescheinigung.
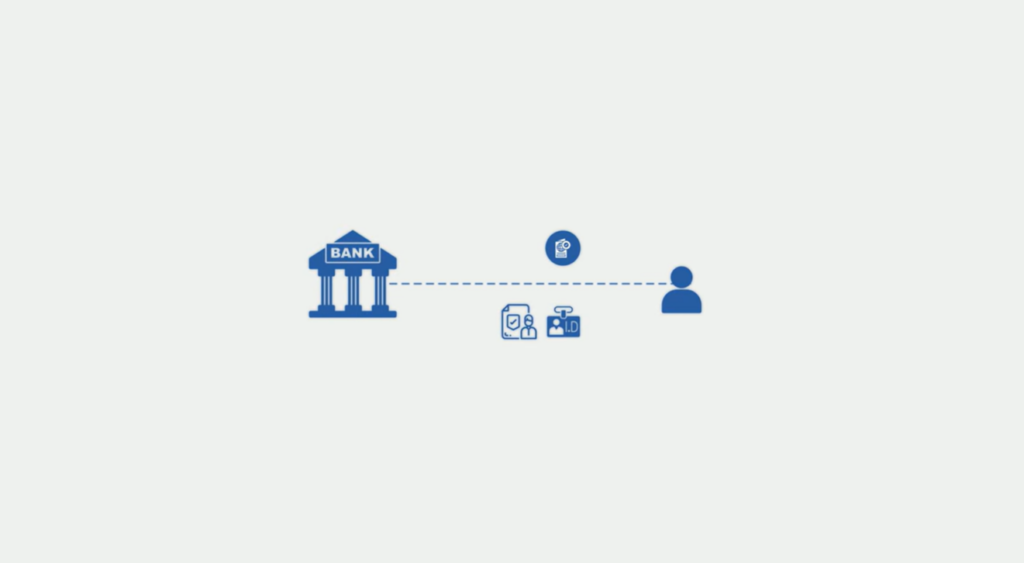
If you’re opening it at a branch, it’s usually better to book an appointment online first. Just take your documents with you for the appointment, and the staff will walk you through everything step by step.
If you prefer doing it online, it’s even simpler. You’ll fill out a short form in the app, and then verify your identity either through a quick video call or by showing your passport at a nearby post office.
Once your account is verified and approved, you’ll immediately get your IBAN, which is your account number and your debit card called an EC-Karte or Girocard- by mail a few days later.
Day 6: Travel Pass
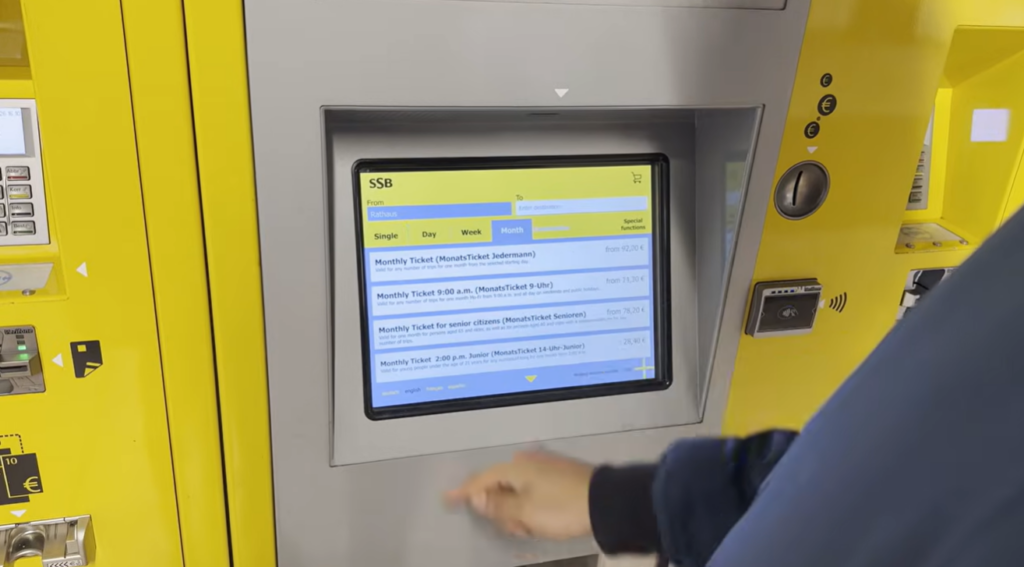
Up until now, you’ve probably been getting around with single tickets. Now it’s time to switch to something more permanent and way more cost-effective a monthly pass from your local transport association, or Verkehrsverbund.
You can search for their nearest office on Google Maps and get your pass from there. But honestly, the easier way is to just download their app and do everything online. And if you’re a student or already employed, do check if your university or company offers a discounted travel pass. A lot of them do, and it can save you a good amount every month.
Another great option, and what most people end up using, is the Deutschlandticket. For around €60 a month, you can travel across all regional trains, S-Bahn, U-Bahn, trams, and buses anywhere in Germany. It’s a monthly subscription, so you can cancel it anytime. It’s simple, it’s cheap, and for most newcomers, it’s more than enough to get around for the entire year.
DAY 7: Health Insurance
Last day of the week, and this is when we handle health insurance.
In Germany, health insurance isn’t optional it’s mandatory from the moment you start living here.
So first, choose your public health insurance provider. Some of the big ones are TK, AOK, Barmer, and DAK. It doesn’t matter much which one you pick because the system is regulated, so they all offer very similar coverage. There is also private health insurance, but for most newcomers, public insurance is the best and simplest option.
Once you select one, register online. Almost every insurance company has an English website where you can upload your passport, your Meldebescheinigung (registration certificate), and your employment contract or university admission letter.
If you’re employed, your employer will automatically inform the insurance company, and your health insurance contributions will be deducted directly from your salary. If you’re a student, you’ll pay a reduced student rate.
And just like that, your first week is officially behind you.
Look, I know this feels like a lot because it is. You’re going to be tired, a little overwhelmed, and maybe even catch yourself wondering if you made the right decision.
But here’s what I want you to remember: thousands of people have walked this exact same path before you. They’ve stood where you’re standing right now. They’ve felt what you’re feeling. And they’ve built amazing lives here.
Because moving to a new country isn’t just paperwork and logistics it’s a whole new chapter of your life. And yes, there will be challenges. The language, the systems, the culture. But step by step, you’ll figure things out. You’ll get through the bureaucracy, start feeling more comfortable, make new friends, and before you know it, Germany won’t just feel like the place you moved to. It’ll start to feel like home.